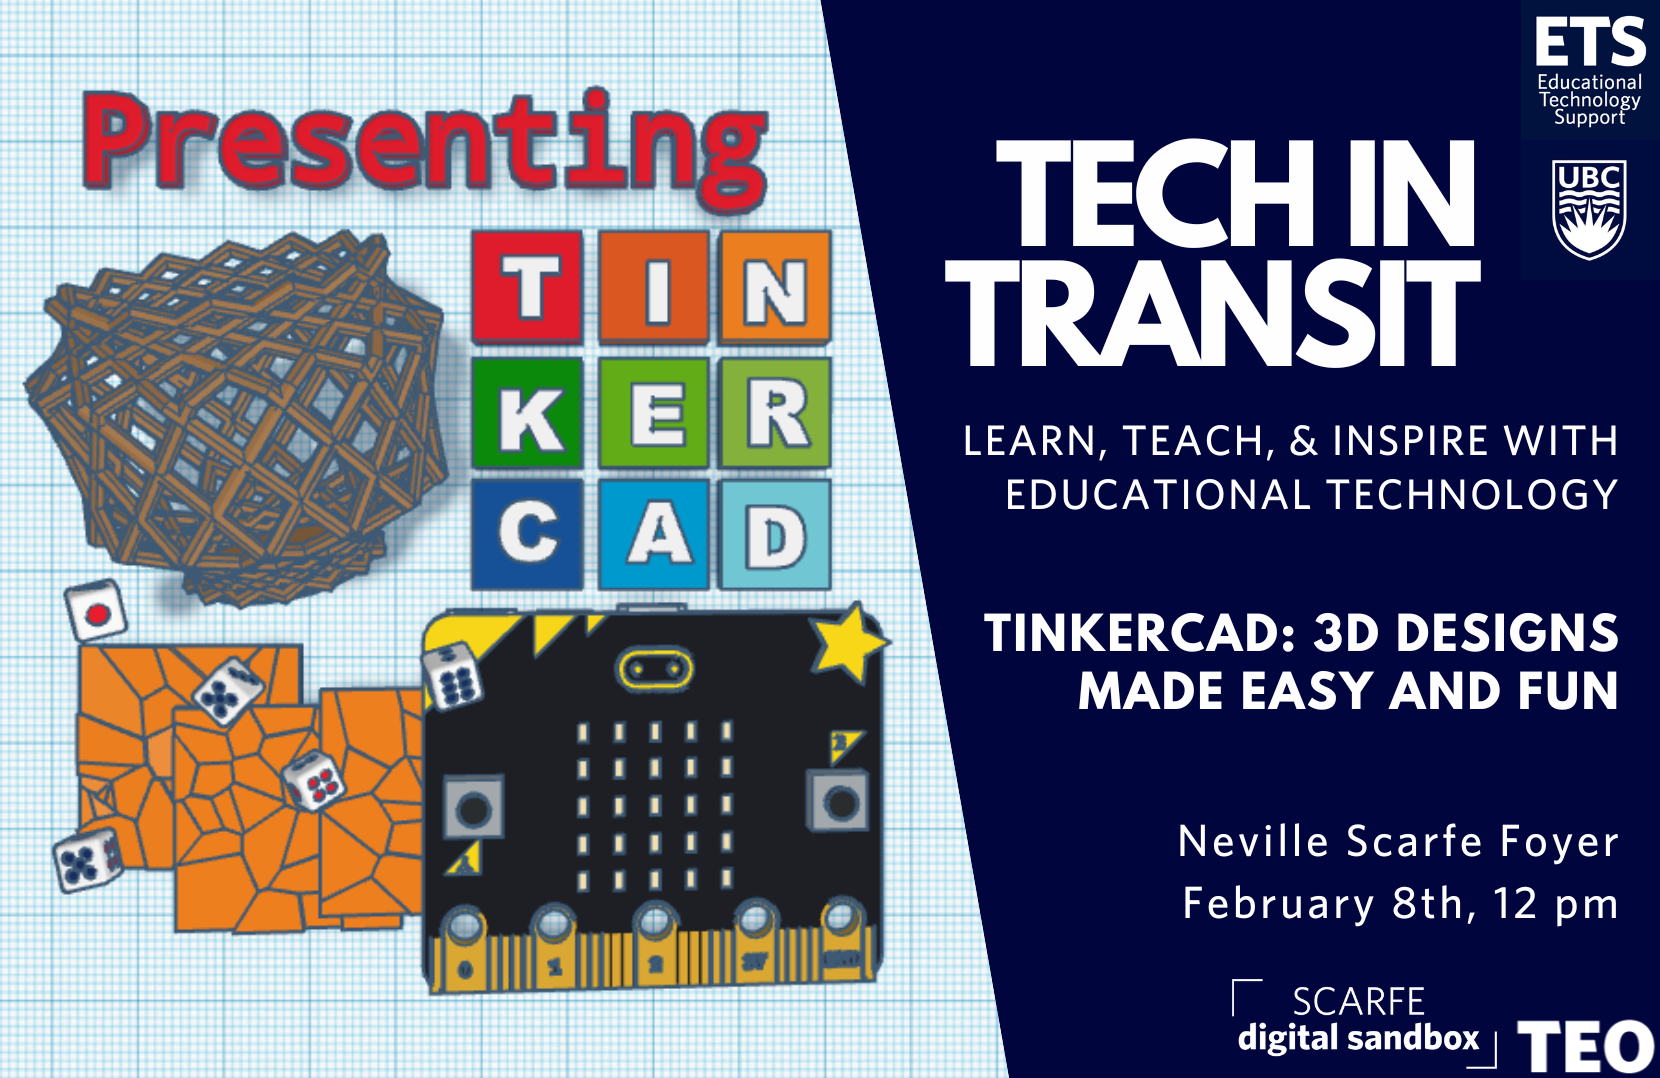
Tech in Transit - Tinkercad: 3D Designs Made Easy and Fun

Tech in Transit – Tinkercad: 3D Designs Made Easy and Fun

Technology in Transit is a monthly event organized by the Educational Technology Support (ETS) office for students in the Faculty of Education to showcase their learning technologies. The purpose of this one-hour session is to raise awareness of different technologies and to show how to incorporate them into classrooms.

For this month, we presented a free web app called Tinkercad that is used for 3D design, electronics, and coding. It is a versatile and intuitive modelling tool for creating simple shapes and crazy contraptions. Whatever you can conceptualize, Tinkercad helps you make it into a reality.

Facilitators: Aidan Chua and Ariane Faria dos Santos


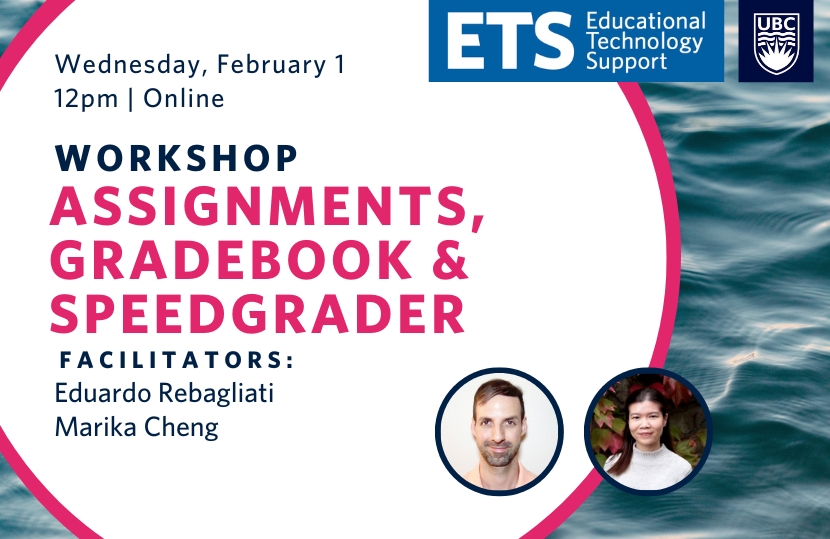
Assignments, Gradebook, and Speedgrader

In this workshop, we took a deep dive into navigating, building, and grading assignments, group assignments and peer review on Canvas. It included an exploration of the grade book and a review of the functionality of speedgrader. We uncovered the hidden quirks of using these tools, troubleshooting common and not-so-common problems, and answered all your questions regarding Canvas assignments.

Facilitators: Marika Cheng and Eduardo Rebagliati


Recording

Mobile Friendly Canvas Course Design Tips

As students increasingly rely on their mobile devices to access course content, it is imperative to understand how to structure and design a Canvas course so that students have easy and accessible access to course content through a computer interface and the mobile app.

Wayfinding

When providing wayfinding instructions, use language that is neutral enough to work on both the computer interface and the mobile app, for example:
“Click the Syllabus button on the left”
-VS-
“Select ‘Syllabus’ from the course navigation”

Front Load Content

Ensure that vital information within a page or assignment description is presented first so less scrolling is required. Integrate images intentionally to avoid slow load times. If images are used, integrate them towards the bottom of the page to eliminate slow load times and space for scrolling.

Integrate White Space

White space is an area intentionally left untouched on a page and often appears between figures, text, columns, and images (etc.). A simple page layout with ample white space can positively impact viewer engagement, heighten readability and organization, decrease overwhelm and distraction, and reduce clutter. There is no single formula for integrating white space, but tips to guide integration are to integrate white space between images and between paragraphs, use consistent line spacing throughout, group information using bullets and headings, and remove unnecessary graphics and images.

Design for Touch

The primary mode of interaction on mobile devices is typically a touch screen. For items such as links that require an action like clicking, ensure that there is enough space between each link to avoid accidental clicking. When providing multiple links on one page, instead of placing links next to each other horizontally, stack them vertically with ample white space between them to avoid accidental clicks.

Chunk your Content

To heighten organization and decrease overwhelm, rather than place all content on one page, separate your content over several pages. For instance, use Modules to organize content into a table of contents. Rather than have all Week 1 content in the Week 1 overview, split the content into multiple sections: Week 1 Overview; Week 1 Readings; Week 1 Assignments.

Drop Cap

To add a more visual style of representation to your paragraphs, while maintaining design accessibility on the mobile app, you may decide to incorporate drop caps. Drop caps are large capital letters that extend below the baseline of the first line of an opening paragraph. Canvas indents the text below the first line to make room for the drop caps. You can format drop caps in HTML for any selected paragraphs to add a decorative component.

<p><span style="float: left; width: 0.7em; font-size: 400%; font-family: algerian, courier; line-height: 80%;">I</span>n 2022, We all saw...</p>

Video

To create a video, you can record using the built-in camera on your mobile device (iPad, iPhone, Android Phone) and then upload the video to Kaltura.

When creating a video be sure to hold the mobile device in a horizontal position. Holding the mobile device in a vertical position will reduce the size of the image when uploaded to Studio, causing the video to display with two vertical black bars on the sides.

Upload your videos or media files to Kaltura and then insert them into Canvas. Add captions using Kaltura.

Use Text Headers

Use text headers rather than indentations to organize your course. Indentations will not be seen on Canvas mobile. Instead, it is recommended to add text headers to organize your content and to support students to navigate the course. Use the styles built into Canvas because they will correspond to style definitions specific to the mobile apps, which also heightens accessibility.

To add a text header, press the plus sign in a module and choose text header. Use a consistent naming scheme. Refer to the Canvas Community guide on how to add a text header as a module item.

Present Content with Canvas Pages

When possible, use Canvas pages to create content rather than word documents and PowerPoint presentations. Canvas pages are much easier for students to read in the Canvas student app, especially if you have a document with multiple links because the links will be easier to select on a Canvas page.

Keep the Instruction Platform Neutral

You likely won’t know if your students are using Canvas on their desktop computer or their mobile devices and so it is best to keep any directions or instructions neutral to avoid student confusion. Avoid using instructions that include specific directions for one platform. Instead, your assignment instructions should include neutral guides for all platforms.

Test your Course

Be sure to test your course content on a mobile device to identify potential access issues and to discover which instructional tools are not compatible with mobile (Java-based, some publisher platforms, etc.). If you must use a function or tool that is not fully supported in mobile, make note of it and let your students know.
New Offering of the Reconciliation Through Indigenous Education

We’re pleased to announce the new offering of the Reconciliation Through Indigenous Education MOOC started today. This 6-week course helps students envision how Indigenous histories, perspectives, worldviews, and approaches to learning can be made part of the work they do in classrooms, organizations, communities, and our everyday experiences in ways that are thoughtful and respectful. In this course, reconciliation emphasizes changing institutional structures, practices, and policies, as well as personal and professional ideologies to create environments that are committed to strengthening our relationships with Indigenous peoples.

Watch the introductory video below:

For more information visit:
Reconciliation Through Indigenous Education

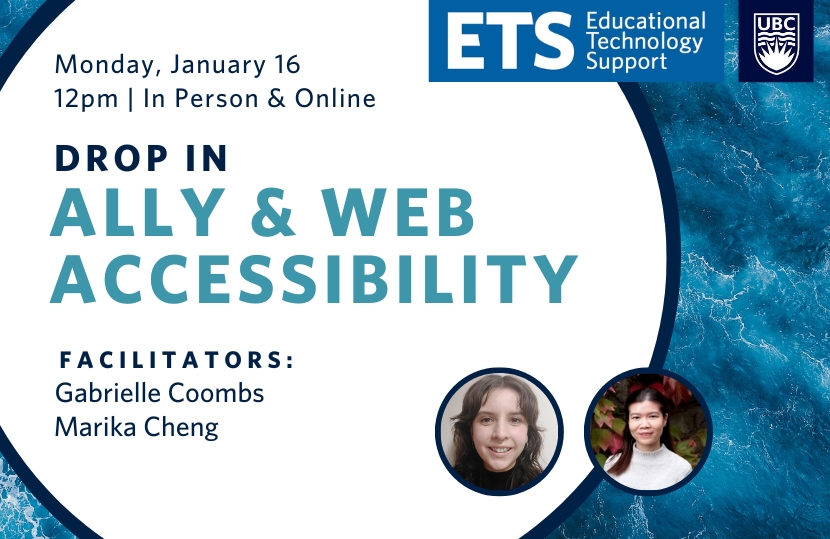
Ally and Web Accessibility Drop-In

The Faculty of Education took part in a pilot of the accessibility tool Ally.

This workshop introduced the tool, as well as web accessibility principles which can be used to improve the accessibility of your course content on Canvas.

This session covered:
– Overview of Ally and how to use it
– Overview of web accessibility principles and how to apply them

Facilitators: Gabrielle Coombs and Marika Cheng


Recording from a previous session


Getting Set Up With Canvas

This session covered an overview of the Canvas Learning Management System, moving content into a Canvas Course, setting up the homepage, syllabus, assignments and modules, and a review of external tools Zoom and LOCR.
Facilitators: Marika Cheng and Eduardo Rebagliati


Recording


Web Accessibility for Staff

In this workshop on Web Accessibility for staff. We explored ways you can improve communications and online contents using Web Content Accessibility Guidelines.

This session covered:

  • WCAG – Web accessibility guidelines and principles
  • Strategies for improving web content accessibility for communications

Facilitators: Gabrielle Coombs, Marika Cheng, and Eduardo Rebagliati

Recording


Ally and Web Accessibility

The Faculty of Education took part in a pilot of the accessibility tool Ally.

This workshop introduced the Ally tool, as well as web accessibility principles which can be used to improve the accessibility of your course content on Canvas.

This session covered:

  • Overview of Ally and how to use it
  • Overview of web accessibility principles and how to apply them

Facilitators: Marika Cheng, Gabrielle Coombs, and Aryan Varma


Recording


Jamilee Baroud


Jamilee Baroud, PhD

Curriculum and Evaluation Consultant
jamilee.baroud@ubc.ca | 604.827.2114


What are your main “big picture” responsibilities at LDDI?

I am responsible for the planning, development, and assessment of the effectiveness and success of course design and educational programs. I conduct needs assessments and develop corresponding strategies for improvement or modification of the programs design, ensuring alignment with UBC strategic goals. I also conduct instructional design research and analyses and provide curriculum and course design consultation, research, and analysis.

Who do you primarily work with?

I work closely and collaboratively with academic and administrative units throughout the Faculty of Education, with faculty and staff members, sessional instructors, external clients, development teams and other internal and external departments and agencies.

What are your specific areas of interest in the field of educational technology or beyond? How is your work at LDDI contributing or playing into those areas of interest?

For me, teaching at the intersection of equity and technology integration, and the pedagogies and curricula associated with it, have been, since the early days of my teaching career, a deep source of professional interest because, to me, there are no more important questions than those that might support more people to learn.

Credentials:

  • 2014 Master of Education, Lakehead University
  • 2020 Doctor of Philosophy, Education, University of Ottawa

eLearning Student Help Resource

Instructor Guide

The eLearning Student Help & Resources is a Canvas course designed to house useful guides, information, and links to resources to assist students in their use of learning technologies. The course covers topics such as how to succeed in online learning, accessibility strategies, academic integrity, and a variety of student-centered guides on learning technologies such as Kaltura Media and Turnitin. It is an open course, and there is no need for students to enroll.

This course is regularly updated, and has new resources added to it on an ongoing basis. ETS strives to ensure that the information in this course is current and that it meets the needs of students within the Faculty.

How to use this resource

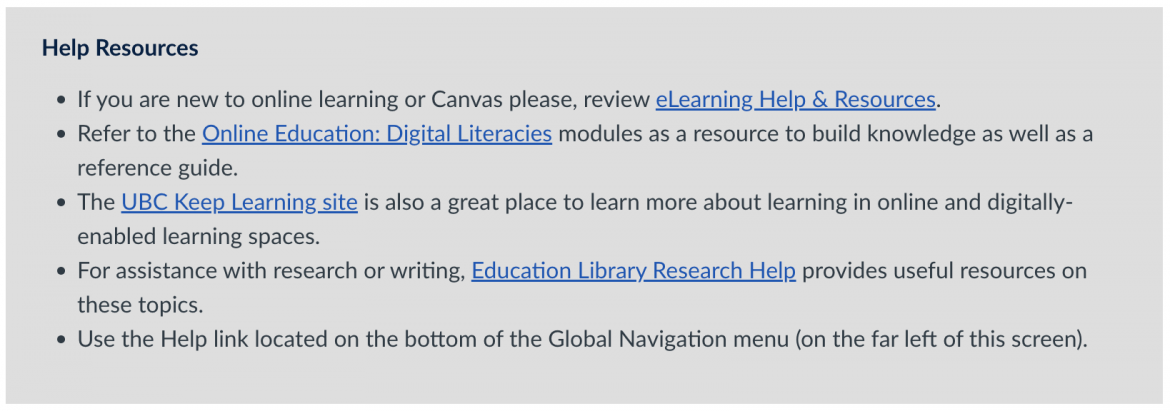
This resource is included in our standard ETS Canvas course template, under “Help Resources” at the bottom of the home page.

Screenshot of the Hep Resources available through the ETS Canvas Starter Template.

Otherwise, the resource can be shared using this URL: https://canvas.ubc.ca/courses/4318

Once shared, this resource can be used at the beginning of course to familiarize students with particular technologies or tools, or within course pages and assignments to provide instruction on how to use these tools in the context of your course.

eLearning Resources in Action

Canvas Help

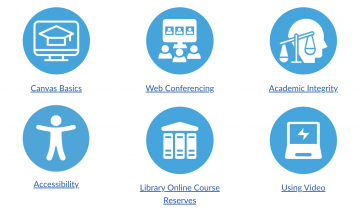
If students are unfamiliar with the Canvas LMS, and would like more information about how to use the platform, direct them to the Canvas Basics section of the course. This section outlines many different functions of the platform, and provides practice areas where students can practice engaging with and submitting work to Canvas.

Student Resources

If students are unaware of what software and technologies they have at their disposal, you can use this resource to show them what they can use. Alongside the list of these tools, there are also student-centered guides to assist students in learning how to use them.

If you wanted students to use an external tool, such as collaborative tools like CLAS, or peer review tools such as ComPAIR, including these resources and guides in your course content or assignments will make students more likely to use the tools as intended.

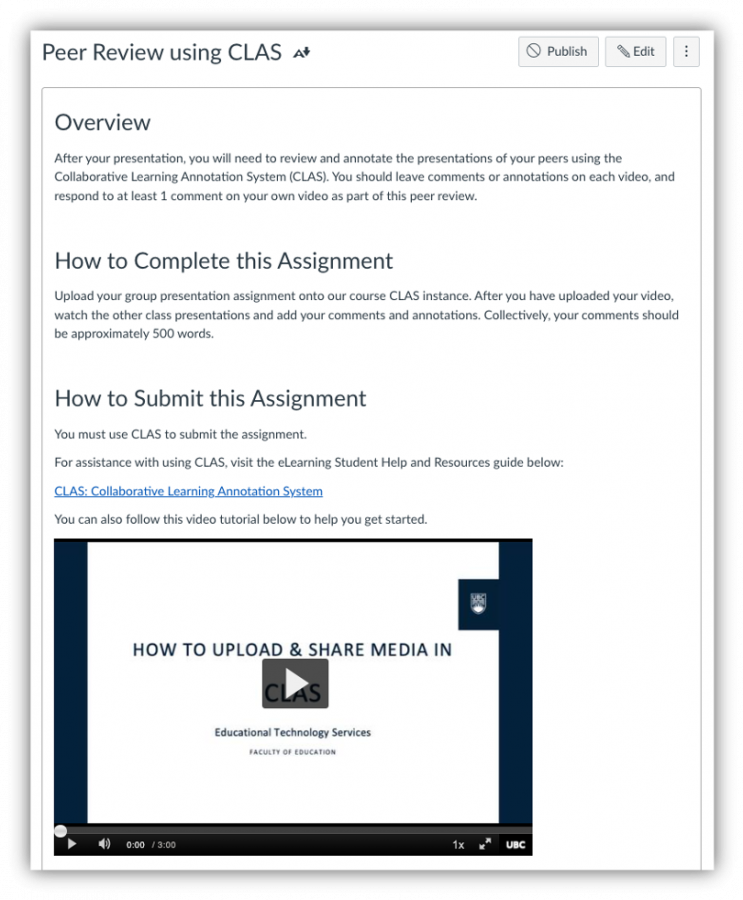
Example: Using the External Tool CLAS

In the below example, the tool CLAS is linked directly in the assignment page, and a video from the resources has been embedded into the assignment for students to watch without ever leaving the assignment page.
Peer Review Using CLAS Screenshot

If you set an assignment that requires the use of learning technology, you can direct students to resources in this Canvas shell. Used thoughtfully, it can help them better utilize the tools at their disposal, and avoid common issues that come up when using technology.

Example: Submitting a Video Assignment

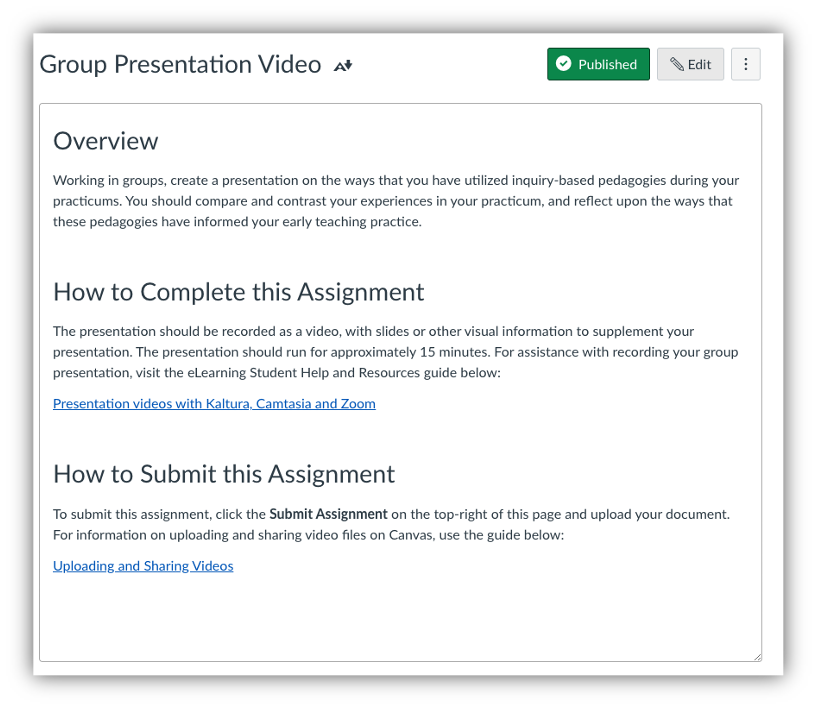
If you assign students a task that involves them recording a video, there may be some things that need to be taken into account. File size, privacy, and screen recording capability may be things to consider, as well as which tool you would like your students to use.

You can either direct students to the eLearning Resources course, or directly link specific pages or information within an assignment, as shown in the example below:
Screenshot on how to link help resources for a video assignment.